Robopedia, Guides & Tips collected by the Community
Robopedia: Every Bot in Botworld
- Strategy Guide: See Comps & Combos
- Bots Upgrades: See Crafting Table and Upgrade Costs, on the Materials page.
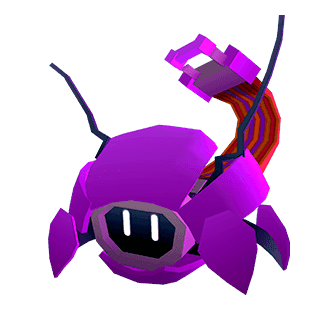
Tanks
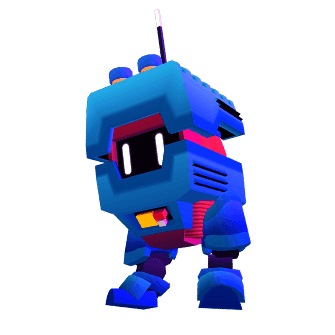
![]() Tanks soak up damage and protect weaker bots — they are best placed up front.
Tanks soak up damage and protect weaker bots — they are best placed up front.
| Bot | Name | Acquisition | Overview |
|---|---|---|---|
|
Barrie | Random Drop | A sturdy tank that doesn't rely on gimmicks, it just has a huge HP pool. Some tricks still, reflecting damages back to the attacker or healing from it can turn the tides of a battle if timed right. |
|
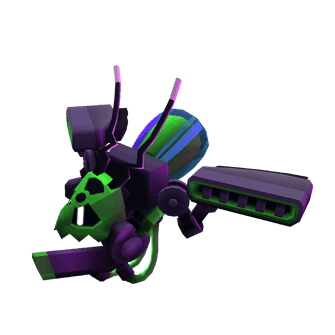
Berserker | Random Drop | Very aggressive and mobile tank that'll run through the battlefield to push, stun, and damage enemy bots. Makes the life of your squishy bots that much easier. |
|
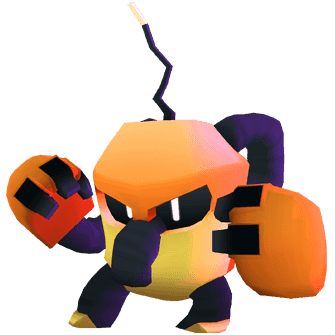
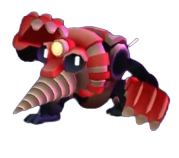
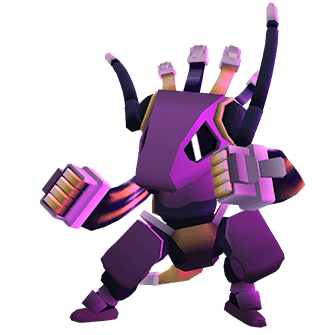
Bullwark | Random Drop | A tank in the most classical sense. The big damage reduction from the front allows it to soak lots of damage, allowing Bullwaark to always keep pushing forwards to disturb and stun. |
|
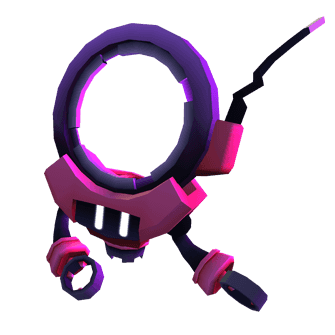
Chainer | Arena (1000) | Chainer isn't too good at tanking, but it can make sure all other ally bots are safe. Chainer is best used to take control of the battlefield and make devastating combos |
|
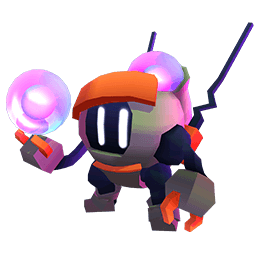
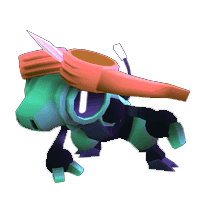
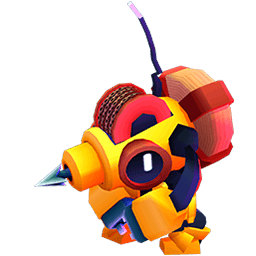
Thump | Starter Bot then Drop | Some think it's an elephant, some say it's a gorilla. Whatever it is, Thump is one of the most unique tanks out there by trading off raw stats for better utility and supporting. |
|
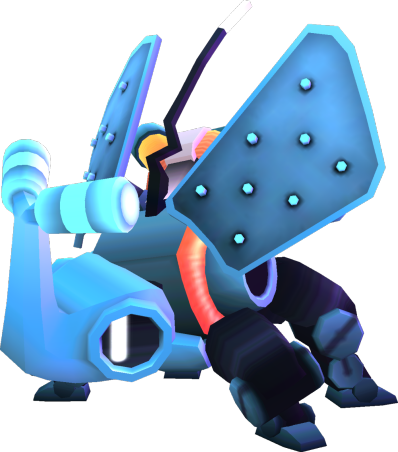
Link | Season then Drop | The ultimate damage absorber |
|
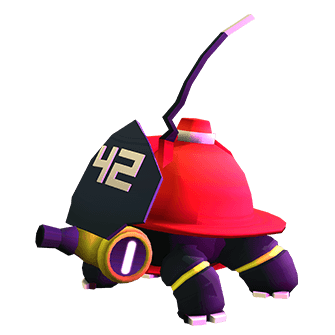
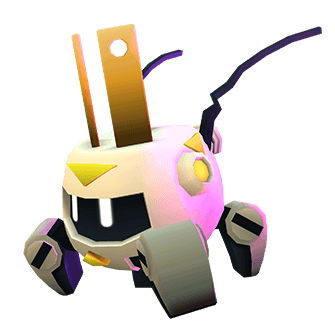
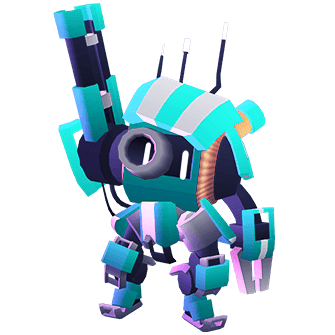
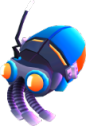
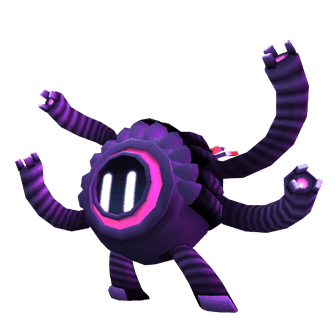
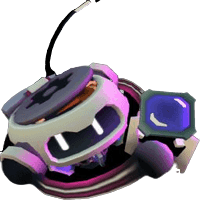
Nozzle | Arena (4000) | Distraction Turtle |
|
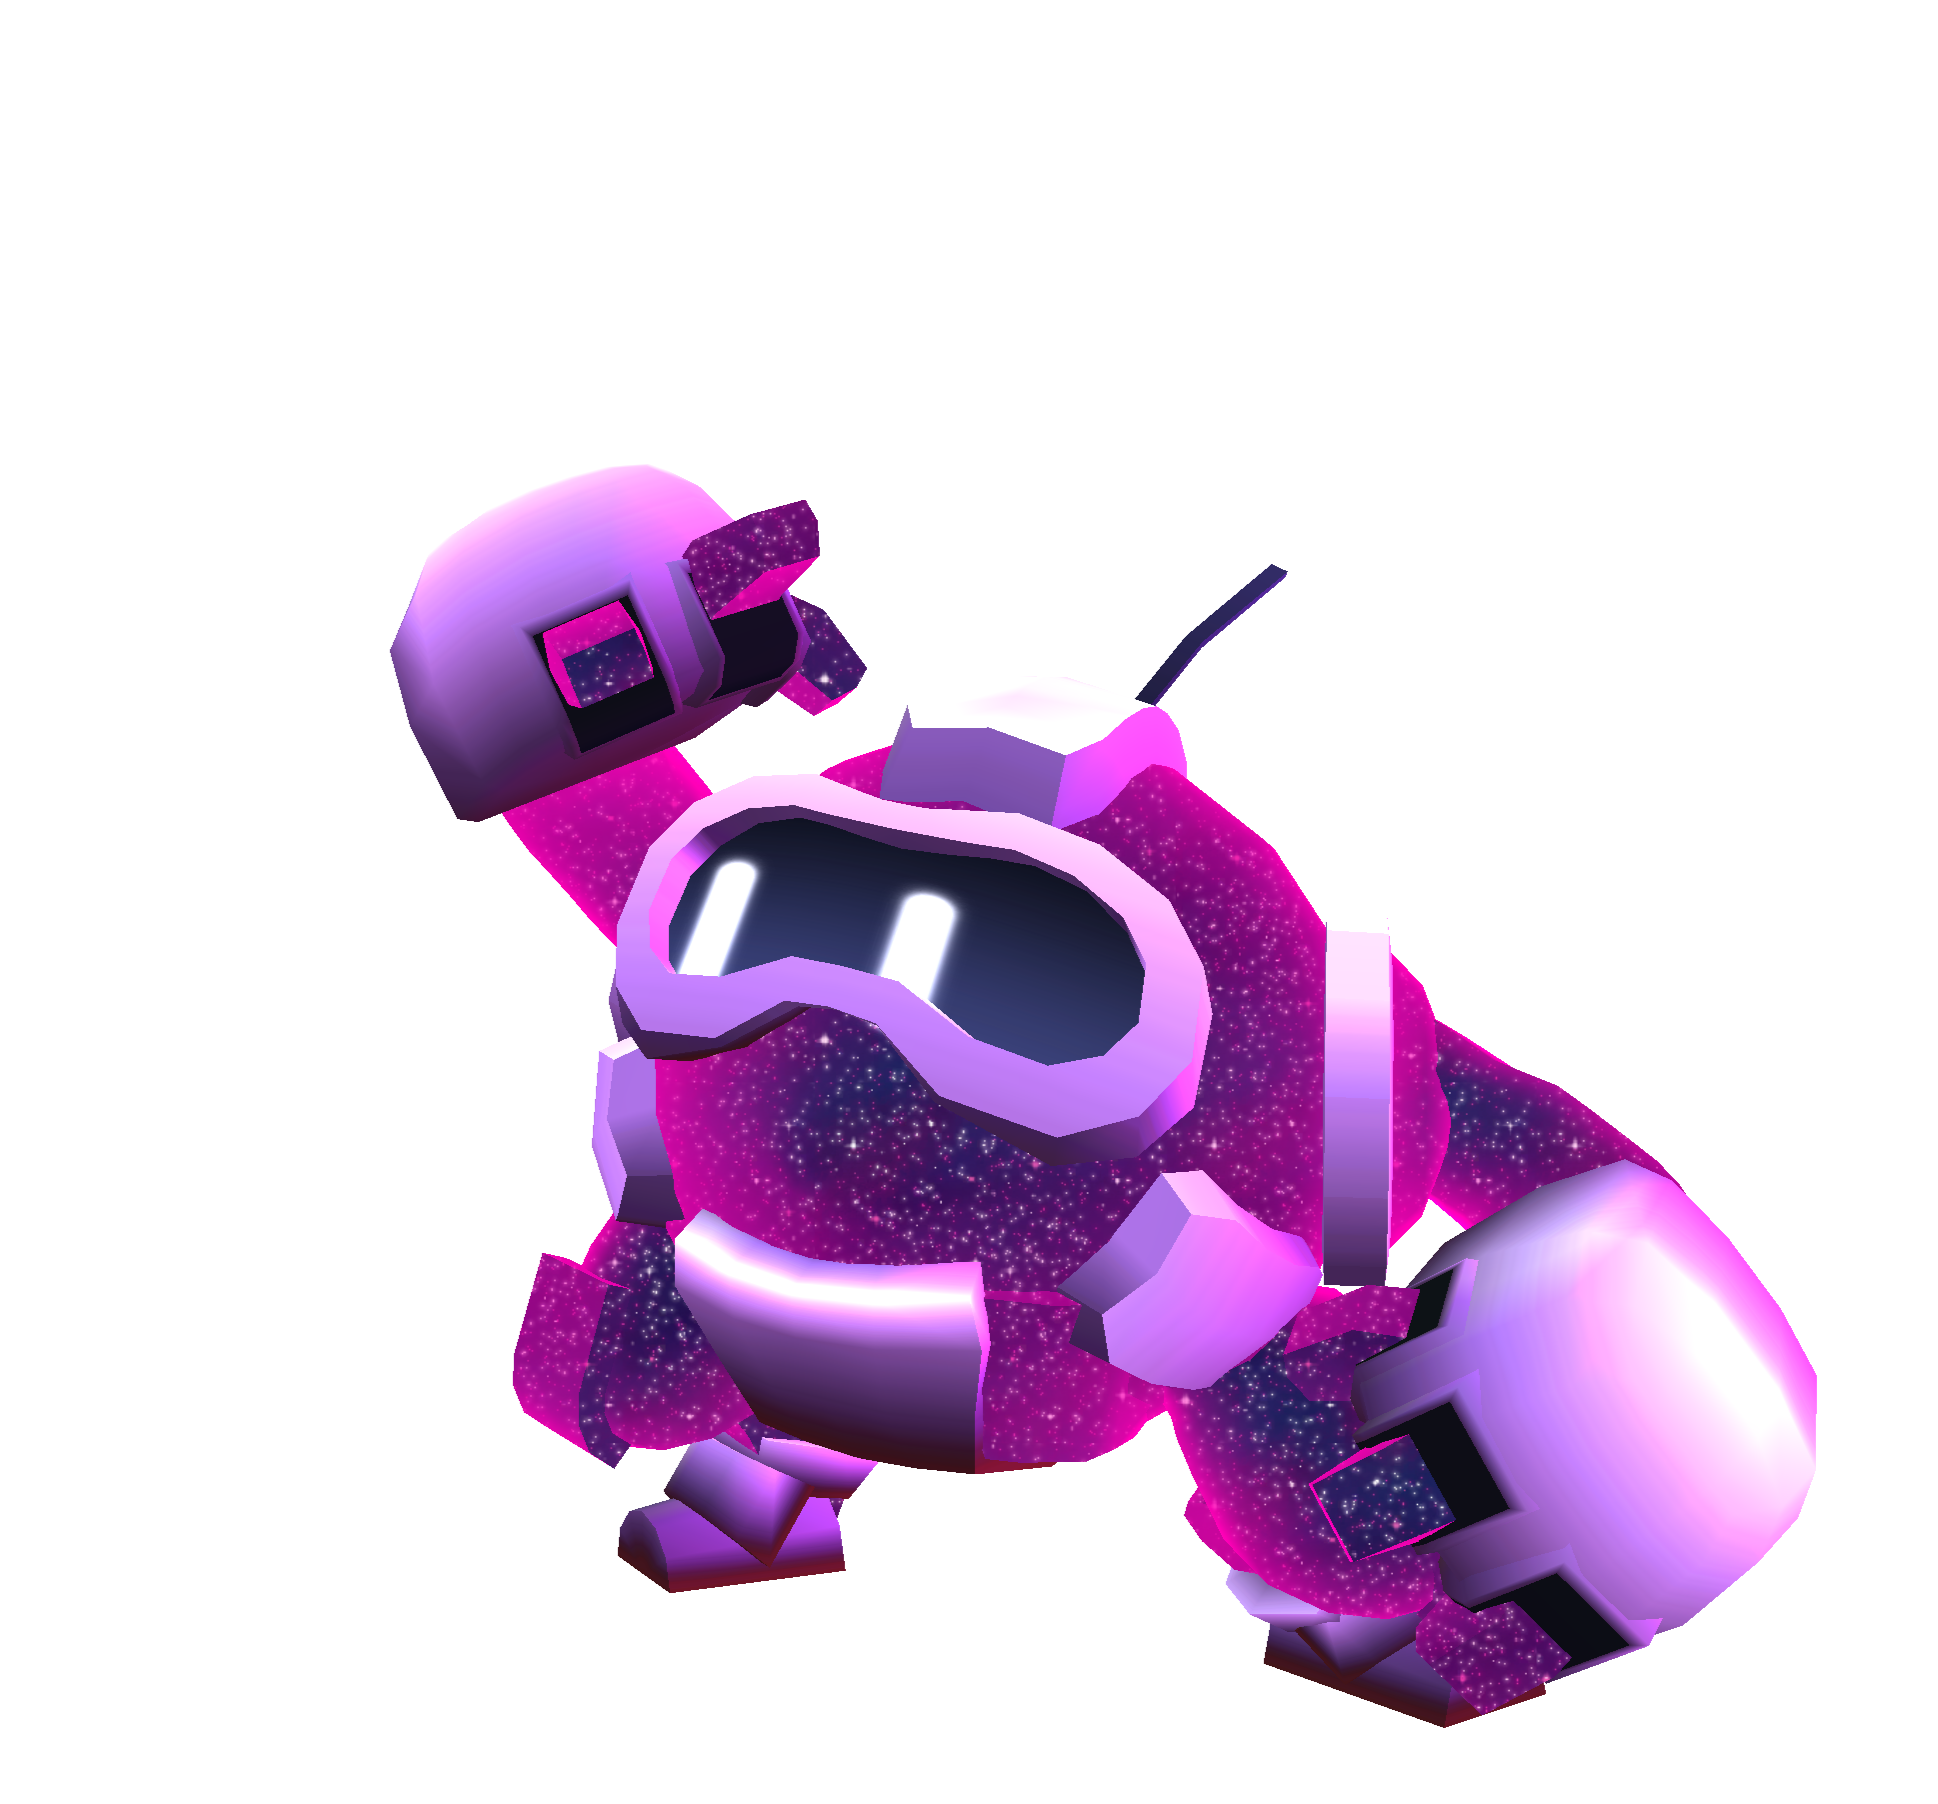
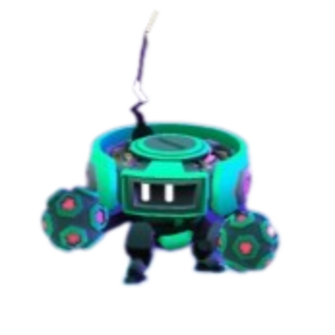
Meteor | Collect 50 Star Fragments and 10 Cosmic Cores | Argueably the most useful tank in the game as of now |
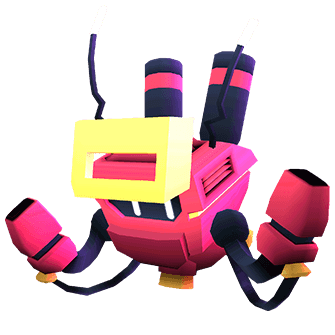
Splashers
![]() Splashers damage multiple bots that are close together — best placed in the back or behind Tanks.
Splashers damage multiple bots that are close together — best placed in the back or behind Tanks.
| Bot | Name | Acquisition | Overview |
|---|---|---|---|
|
Lobbie | Random Drop | best paired with chainer |
|
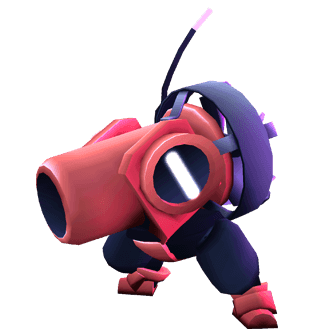
Rocketeer | Random Drop | knockback expert |
|
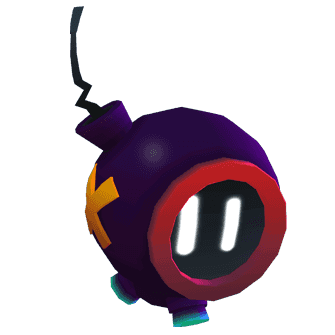
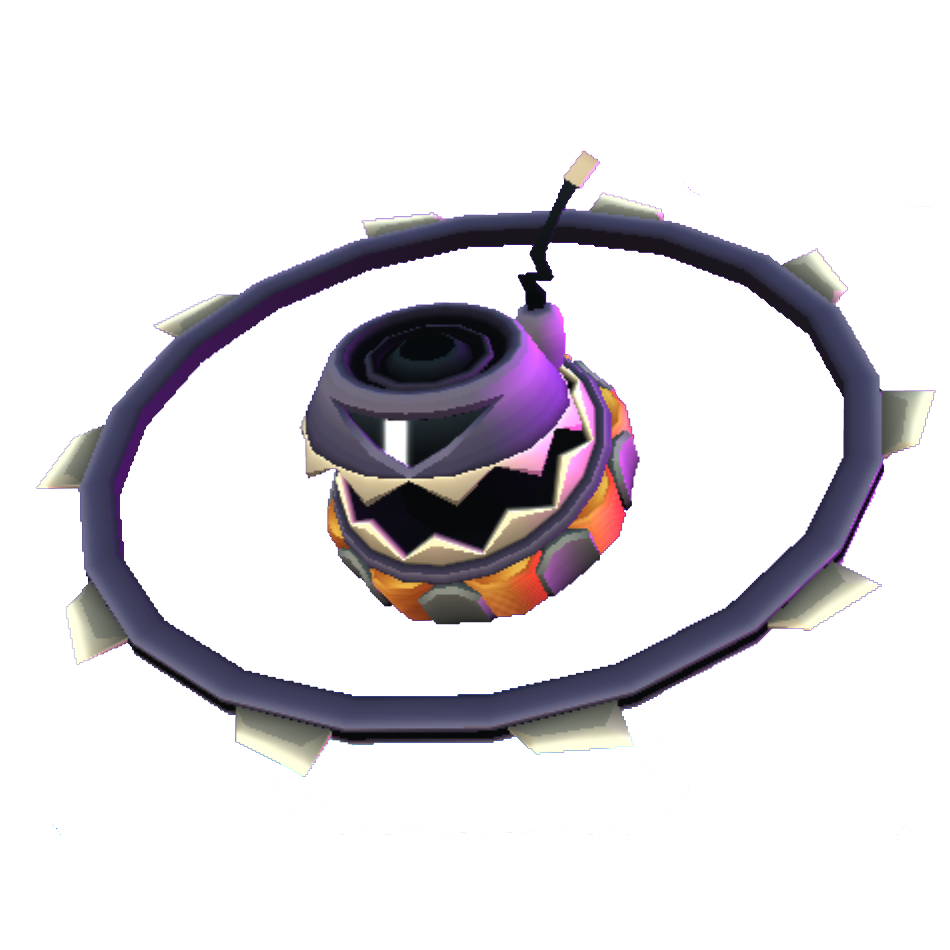
Bombee | Random Drop | This little bomb will take some bots with it if it can go under its own terms. Mostly a fun bot, useful for fast clears in low-stakes situations. Hard to use consistently in any competitive or challenging setting. |
|
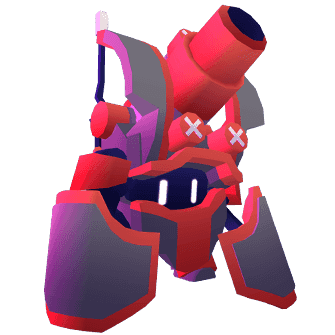
Mort | Random Drop | The absolute mobile mortar of the game. Mort serves the role of an excellent nuker while still be a good sub dps/crowd controller from afar. However, the bot suffers a lot of cons to let it alone. |
|
Pluggie | Arena (2000) | The almighty splasher of botworld, best suited for anywhere. Great base stats along with great utility making Pluggie one of the most powerful all round bot. |
|
Gyro | Season then Drop | |
|
Sheller | Season then Drop | An new mechanic that'll be sure to make for some interesting situations on the battlefied. Has some attractive CC potential with stun, but feels like it'll suffer from getting harassed just like Mort |
Snipers
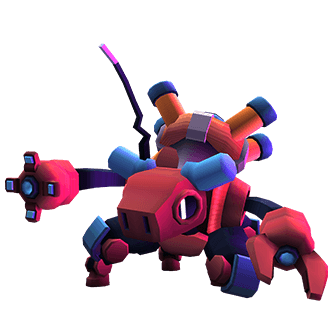
![]() Snipers do a lot of damage from a distance — protect these bots as much as possible.
Snipers do a lot of damage from a distance — protect these bots as much as possible.
| Bot | Name | Acquisition | Overview |
|---|---|---|---|
|
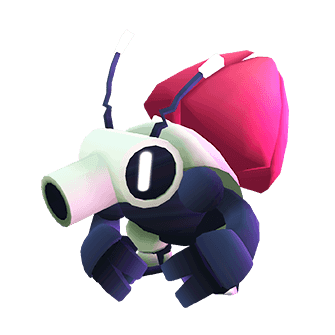
Chomp | Random Drop | A sniper that shoots really fast and that you'll get from the very beginning. This is bot will teach you early on how damaging snipers can be if you protect them during battle. |
|
Longshot | Arena (200) | Probably the most reliable and consistend ranged damage dealer. Other snipers have the potential to outperform it in the right situations, but Longshot will just get the job done no matter what. |
|
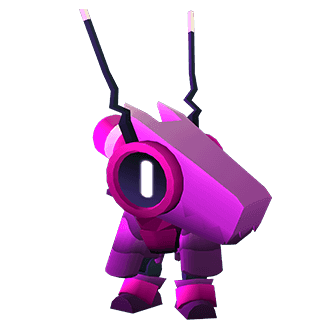
Pupil | Season then Drop | Laser bot of the game, has very high raw damage stat but little health and requires its enemy to stand still. Pupil represents Botworld's glass cannon, a high risk high reward bot. |
|
Backfire | Season then Drop | |
|
Bigshot | Random Drop | Nothing is more scary than an enemy Bigshot about to shoot. Nothing is more satisfying than your own blasting through your opponents. But will it get to shoot? |
|
Bullseye | Season then Drop | If Pupil is a high risk high reward bot, then Bullseye further exceeds the definition. Can do more than just harming enemy bots, Bullseye is capable of shredding anything including tankers. |

|
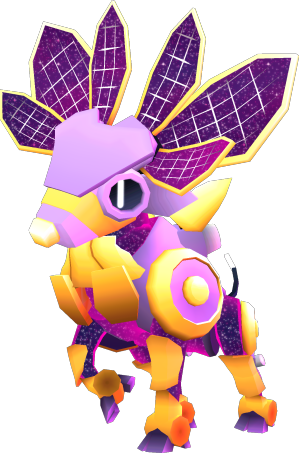
Nova | Collect 50 Star Fragments and 10 Cosmic Cores | A sniper and a dragon. What else can you ask for? |
Chasers
![]() Chasers are fast melee bots that are good at getting close to ranged enemies — let these bots get close to ranged damage dealers.
Chasers are fast melee bots that are good at getting close to ranged enemies — let these bots get close to ranged damage dealers.
| Bot | Name | Acquisition | Overview |
|---|---|---|---|
|
Slash | Random Drop | It's a bird! It's a plane! No, it's one of your very first bots upon entering Botworld Adventure. With Slash in hand, you will be taught the basic tactics and strategies of using a chaser (against snipers/evaders). Slash provides a very high damage output, if not the highest, with the drawback of being nearly extremely squishy. Can kill very fast and can also die very fast. |
|
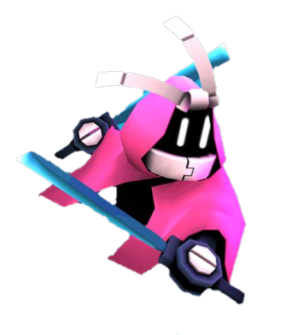
Slicer | Season then Drop | Slicer has the highest DPS in the game (discounting [Slash](/slash)) and has the second-highest burst damage in the game (6208!), just below [Brute](/brute). Unlike [Brute](/brute) however, Slicer doesn't need any setup for his burst and has a respectable 15 mSPD ontop of a gapcloser ability, and he's immune to slows and roots too! He's not all too squishy either, overall a very scary, high-risk high-reward pick for any team. |
|
Ram | Starter Bot then Drop | With the HP of a tank, the damage of a brawler and the speed of a chaser, Ram simply has absurdly good stats. He has a place in any team that he's put in and does his job like no other bot can. His Horn Flick can be tricky to get used to. At endgame, chasers is often intervened by a tank while he's chasing a squishy bot. This allows him to throw the tank behind him and keep going. |
|
Drill | Season then Drop | No opinion yet. |
|
Fork | Random Drop | Half a Chaser, half an Evader. Very good at picking out ranged DPS bots that would otherwise stay safe far from the fight. Has a good kit to survive and stand its ground against most bots. |
|
Phantom | Season then Drop |
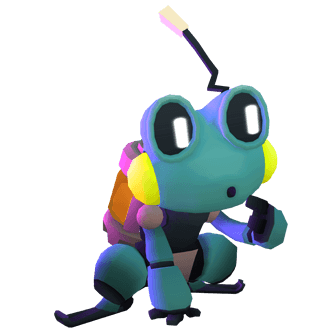
Evaders
![]() Evaders are fast bots that are good at staying away from melee enemies — distract Chasers with these bots!
Evaders are fast bots that are good at staying away from melee enemies — distract Chasers with these bots!
| Bot | Name | Acquisition | Overview |
|---|---|---|---|
|
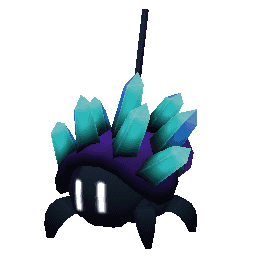
Icicool | Random Drop | It's Ult can be either AoE when Icicool is far from the fight, or one of the most terrifying source of damage if the enemy is close enough to take all the icicles. |
|
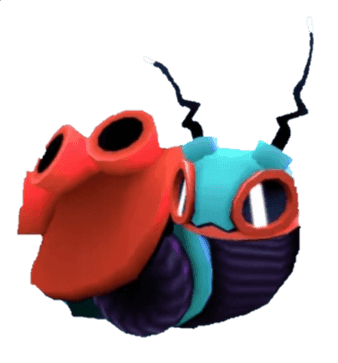
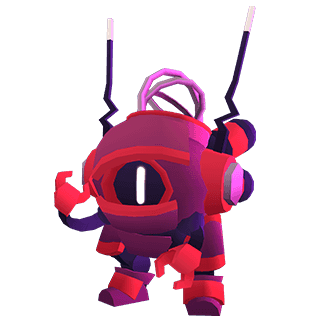
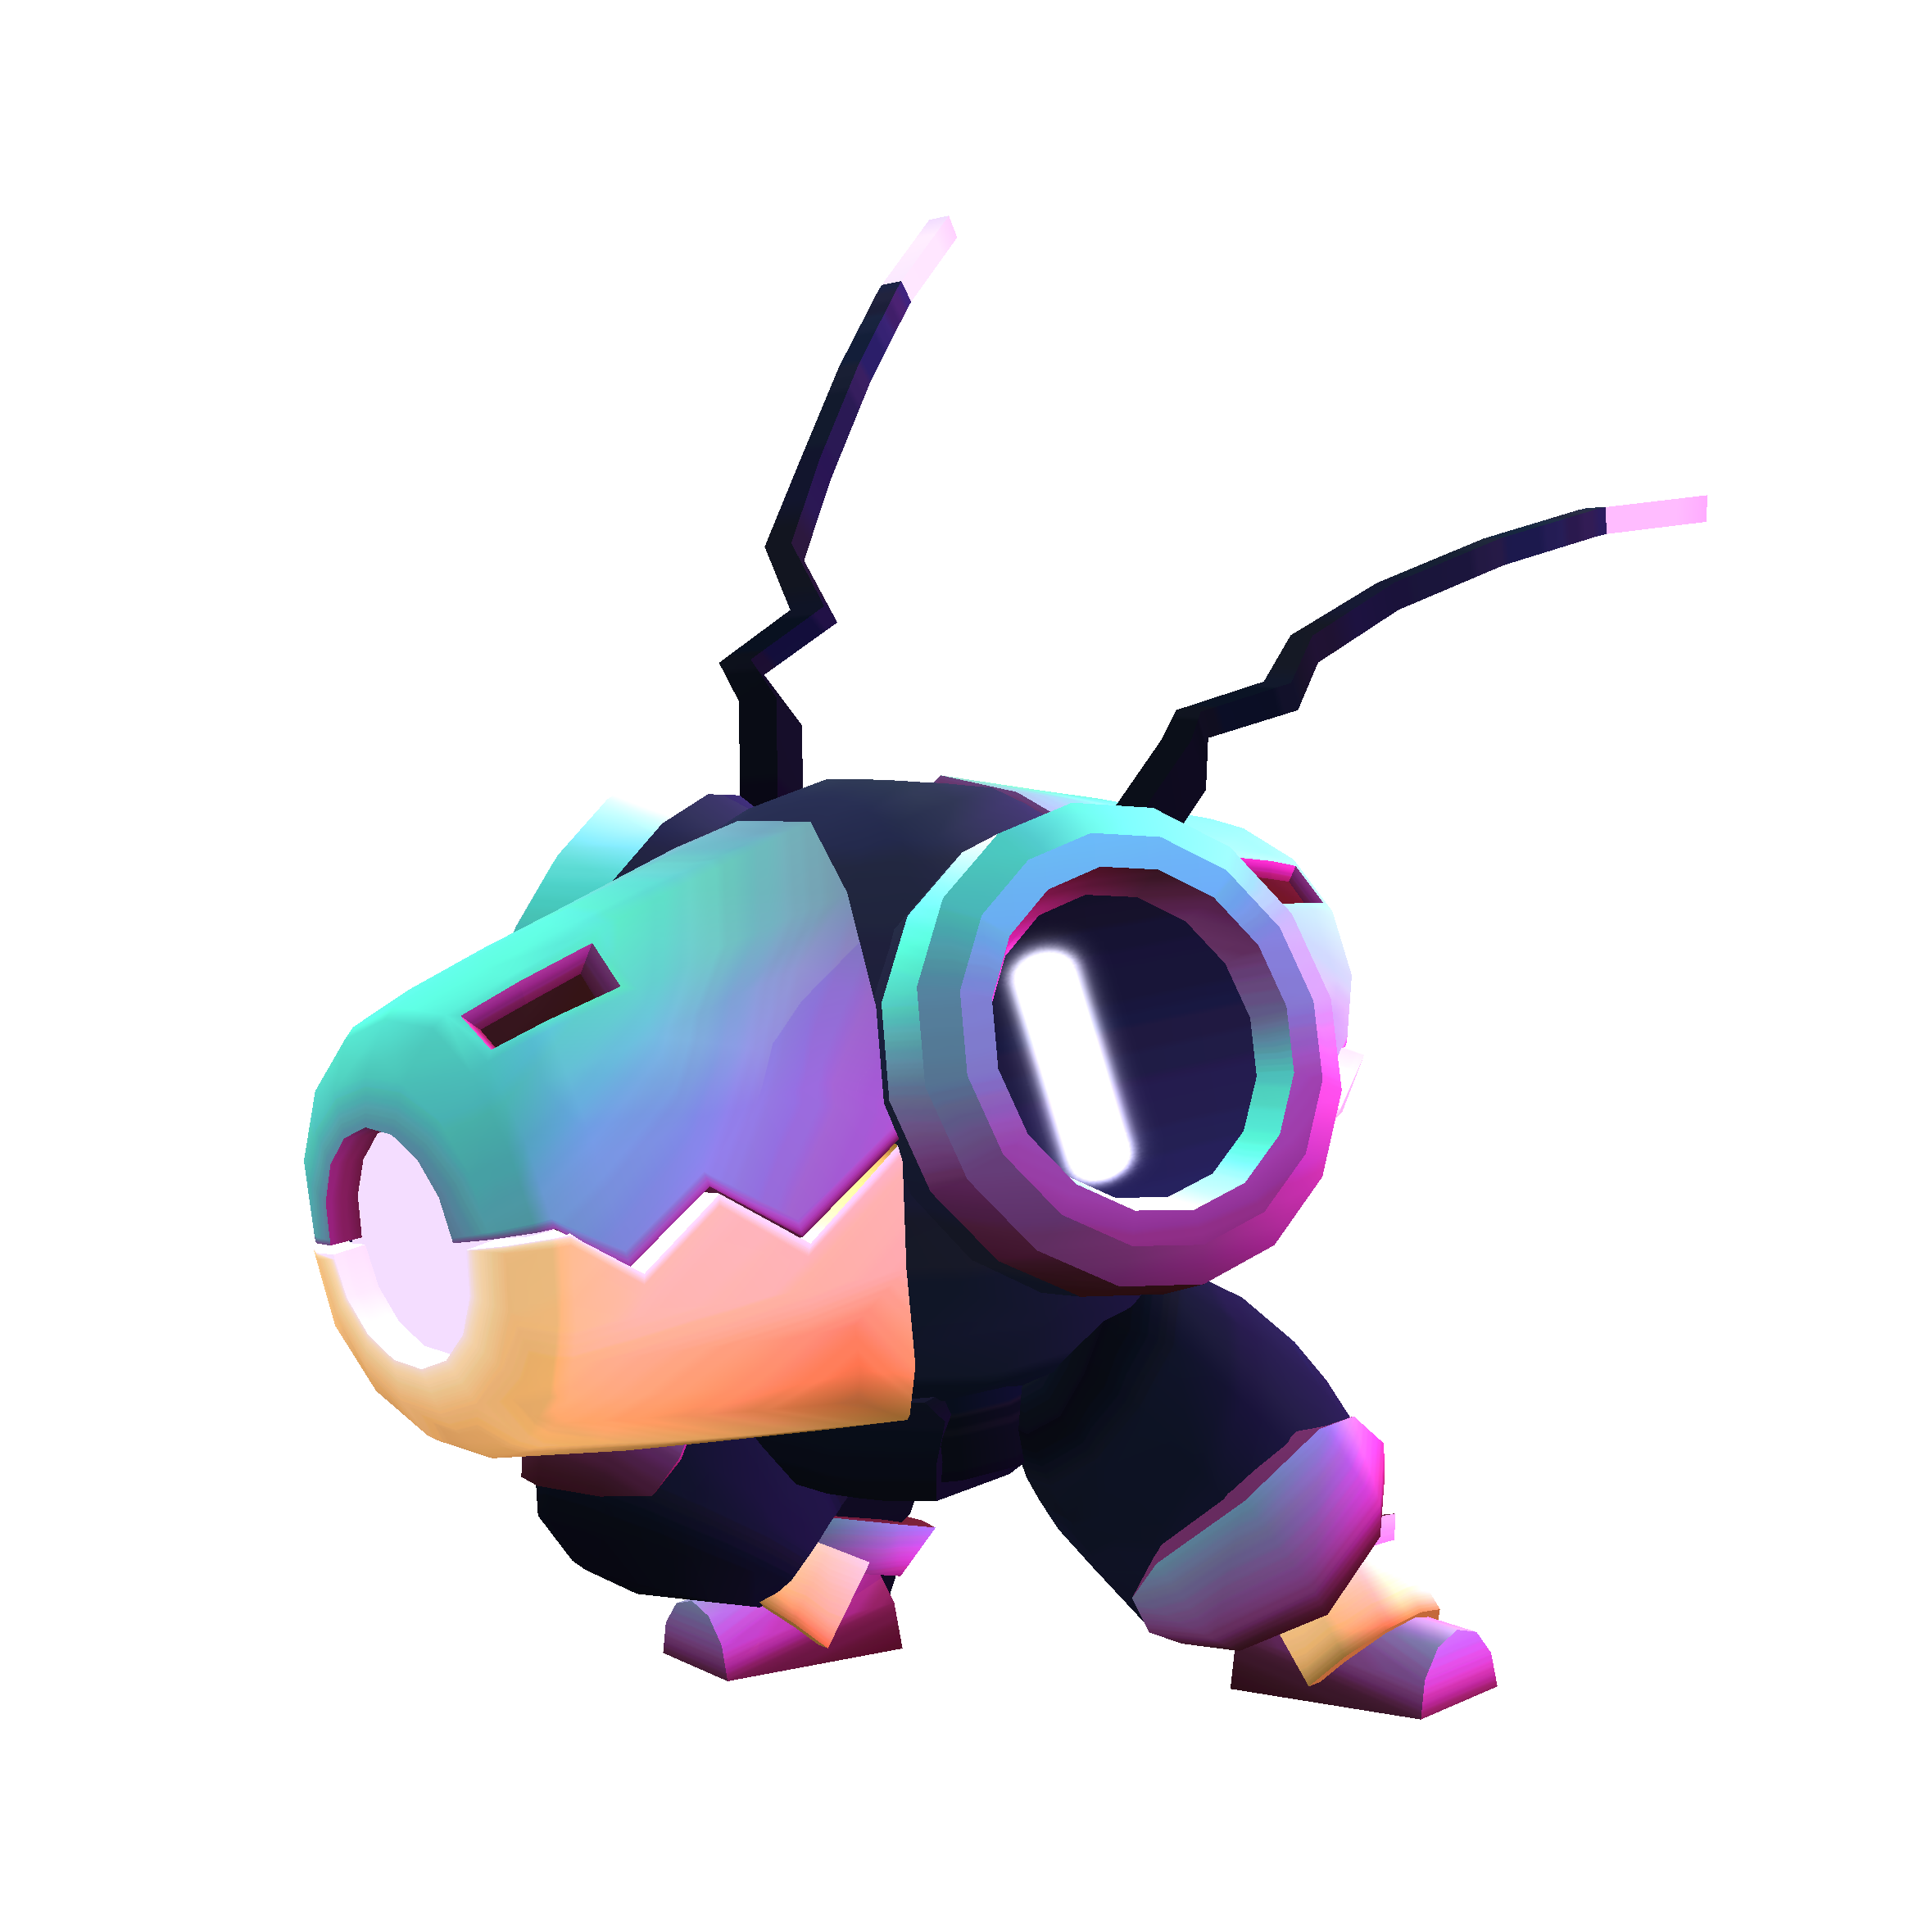
Dune Bug | Story Quest | A guaranteed bot you may get while progressing the storyline. Dune Bug may become your solid friend throughout the entire game being a sub dps/aoe unit with great survivability. |
|
Flamer | Season then Drop | Very high damage output, every bit is AoE. This bot is all offense, and doesn't have much to survive by itself, even though it needs to be almost at melee range. |
|
Froggy | Starter Bot then Drop | Inside the body of a frog, surprisingly Froggy doesn't usually hop, mostly just waddles. The middle of the road bot, not bad at everything but also doesn’t excel at anything. |
|
Frosty | Daily rewards | a good crowd control bot |
|
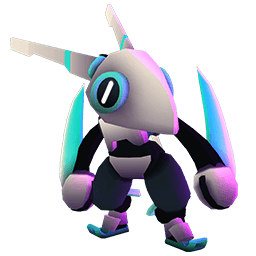
Hornet | Arena (5000) | Team Player |
|
InkJet | Season then Drop | Now you see us, now you don't |
|
Comet | Collect 50 Star Fragments and 10 Cosmic Cores | Botworld's first legendary bot |
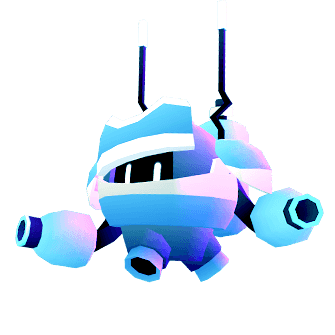
Brawlers
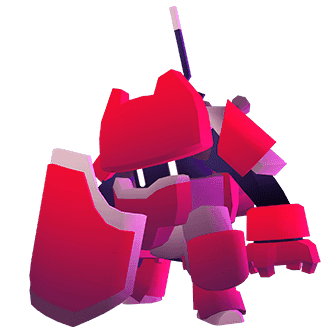
![]() Brawlers are good at fighting other melee bots — 1v1 is their specialty!
Brawlers are good at fighting other melee bots — 1v1 is their specialty!
| Bot | Name | Acquisition | Overview |
|---|---|---|---|
|
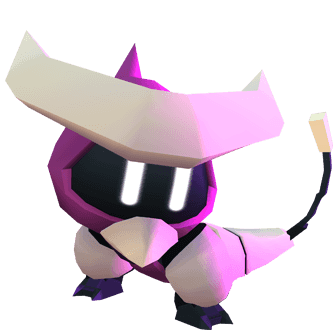
Yanky | Random Drop | Best bot in 1v1 Stun lock |
|
Brute | Random Drop | Hits hard without holding anything back or caring for itself. Extremelly powerful when it connects, but has such a poor mobility you will need to help it get to its targets. |
|
Scatter | Random Drop | dangerous when close |
|
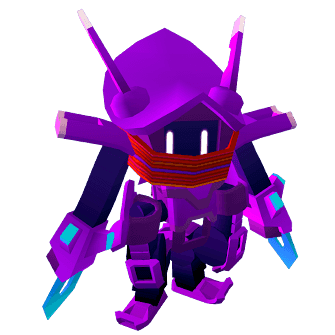
K.O. | Season then Drop | Boxer |
|
Nibbles | Season then Drop | The 1v1 bot overhauler |

|
Surge | Season then Drop | |
|
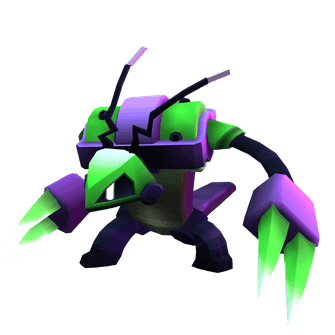
Virus | Uberbot | One of the top viable bots in the game. Virus can absolute destroy enemy team by hijacking a unit, thus making it possible to solo against several bots without trouble. |
Supports
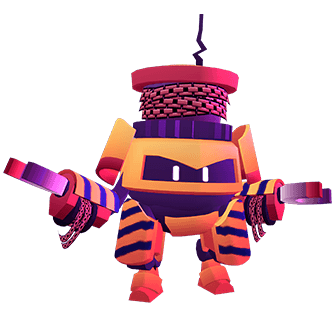
![]() Supports make your other bots more effective — best placed beside Tanks.
Supports make your other bots more effective — best placed beside Tanks.
| Bot | Name | Acquisition | Overview |
|---|---|---|---|
|
Tether | Random Drop | Dr. Octopus |
|
Halo | Random Drop | Not to be confused with Halo Franchise. An average ranged supporter outshined by Beat because there is not many situations where Halo does great, at least it has done its job well. |
|
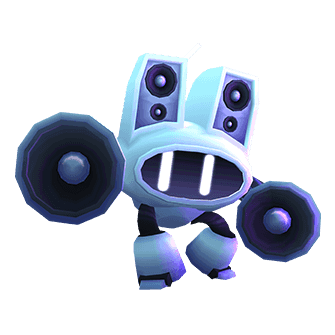
Beat | Arena (3000) | Mostly attractive for the combo potential, boosting everyone's damage can be extremely powerful. Also a suprisingly viable melee bot with Stun and decent HP/dmg |
|
Bouncer | Season then Drop | |
|
Gusto | Random Drop | Kobe |
|
Shuffle | Season then Drop | Intended to be an rng bot with the ability of using different botpack abilities, Shuffle turns out to be far better than people have expected as it is able to easily wipe out most foes. |
AI
Getting your bot to AI5 (the highest rank) will make much more powerful. AI trees (sometimes called AI tracks) are very important to maximizing your bots’ potential. For some bots and combos (Chainer) AI5 is an absolute game-changer!
Reset
- It costs 100 gold per bot AI level.
- You can only reset them all at once.
EXP Costs
| AI Level | Level 1 | Level 2 | Level 3 | Level 4 | Level 5 |
|---|---|---|---|---|---|
| Exp Required | 500 | 2000 | 5000 | 14000 | 30000 |
Training
First of all, it’s important to note that Recruits don’t gain AI Exp, so you must be using the bots you wish to develop yourself.
- Having the right business perk: +15% (LV3 AI Research) will help a lot!
- Regular exploring tricks: Exploring & Danger Zones Tips.
Fight higher level enemies
- AI Exp isn’t directly proportional to the enemy’s level, but you’ll gain more AI Exp for facing enemies that are at a higher level than you (and less from under-leveled enemies). Try to look for enemies that are at least 2 levels above your own.
- Choose the highest level area that you can accept Contracts for as your AI training ground.
Focus on Wild Bot Packs
- You’ll get AI Exp per bot defeated, therefore Wild Bot fights tend to be more efficient than Bandit fights, since there are usually more bots per fight in the former. They’re also usually faster to clear.
- You can reroll your Contracts until you get the “Salvage the Caravan” mission in a high-level area, that will make extra Wild Bot Packs spawn close to the Caravan in that specific location (but do not salvage the Caravan after clearing the Wild Bots near it). Prioritize areas that are already naturally packed with Wild Bots for max efficiency, more packs equals more AI Exp.

Use your Gadgets
- Damaged enemies still give the same AI Exp as enemies at full health, so using Bombardment and Mines can considerably increase the efficiency of your runs.
- Using Bombardment 3 times will leave normal enemies at death’s door (especially effective if used near the Caravan of the “Salvage the Caravan” Contract).
Aim for clean and fast clears
- You’re looking for efficiency, so go for fast clearing combos like Grouper Comps.
- Using Chainer + Splashers against enemies damaged with Gadgets will result in an almost instant win.
- Engaging in Multi-fights will save time by lowering the amount of loading screens you’ll see.
Farming AI Exp using Bombardment 320p (1,18MB)
Farming AI Exp using 3x Bombardment + Chainer 640p (4,56MB)
Avoid wasting AI Exp
- Bots that are already at AI5 still share Exp gained from battles, meaning that the AI Exp they gain after a fight simply goes to waste.
- Avoid using more than 3 bots per fight, since all bots placed will share AI Exp, resulting in less individual Exp for the bot you’re trying to develop.
Credit | cloud9, Echio, TsengFayt, Wolfhaize