Robopedia, Guides & Tips collected by the Community
Botpack
Mom gave you a Botpack, now you’re a real Botmaster! With it you can control your bots, cast powerful abilities, equip useful boosters, and use fun gadgets.

- Unlocking more slots: Arena Masters.
- Getting better Modules: Fusing with Auntie
- Level scaling: Botpack Level & Mobs Level Scaling
Abilities
How well you use your abilities will make or break difficult fights. Try and have the right tool for the job and counters for tricky situations you will undoubtedly get yourself into!
- Power generation rate: missing data
- Damaging abilities scale with your botpack level: missing data
Check out the Abilities page for detailed information on every ability.
-
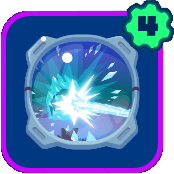
 Energy Bolt
-
 Frost Missile
-
 Hasty Ground
-
 Immobilize
-
 Missile
-
 Shield
-
 Super Charge
-
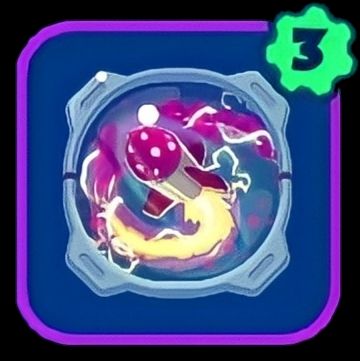
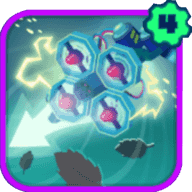
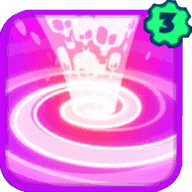
 Vortex
-
 Chaos Translocator
-
 Charge Field
-
 Chilling Ground
-
 Firewall
-
 Freeze
-
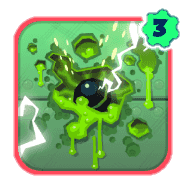
 Goop
Goop
-
 Gust
Gust
-
 Knockback Bolt
-
 Poison Bolt
-
 Speed Boost
-
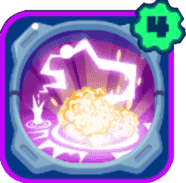
 Ball Lightning
-
 Barrier Wall
-
 Charge Bolt
-
 Corrode
-
 Frost Tower
-
 Hack
Hack
-
 Hypercharge
-
 Icewall
-
 Immobilize Field
-
 Knockback
-
 Lightning Rod
-
 Poison Trail
-
 Proximity Translocator
-
 Snowball
-
 Unstable Plasma
-
 Chaos Boost
-
 Corrupted Bolt
-
 Corrupted Flamefield
-
 Corrupted Missile
-
 Deep Freeze
-
 Explosive Proximity Translocator
-
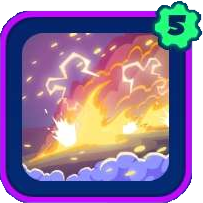 FireStorm
-
 Gale
Gale
-
 Gravity surge
-
 Hack Missile
-
 Hyperdrain
-
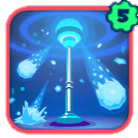
 Particle Storm
-
 Poison Missile
-
 Poison Tower
-
 Shield Field
-
 Supercharged Chaos Translocator
-
 Team Translocator
-
 Tornado Bolt
-
 Vanish
-
 Vulnerability
-
 Zap Tower
-
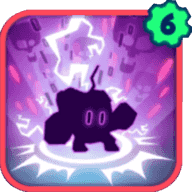
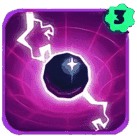
 Black Hole
-
 Glacier Path
-
 Hack Bolt
-
 Hypercharge Tower
-
 Orbital Laser
Boosters
Having the right Boosters will round up your playstyle and your comp.
Stacking: multiplicative != additive missing data
Check out the Boosters page for detailed information on every booster.
-
 Bot Damage
-
 Bot Health
-
 Bot Stun
-
 Brawler Lifesteal
-
 Movement Speed
-
 Physical Resistance
-
 Power Start
-
 Sniper Range
-
 Ult Cooldowns
-
 Bot Crit
-
 Bot Dodge
-
 Botpack Damage
-
 Chaser Stun Resistance
-
 Energy Resistance
-
 Lifesteal
-
 Power Generation
-
 Power Recycling
-
 Splasher Effect Area
-
 Ult Charge
-
 Bot Damage
-
 Bot Dodge
-
 Bot Effect Area
-
 Bot Health
-
 Bot Stun
-
 Botpack Effect Area
-
 Botpack Stun
-
 Chaser Speed
-
 Evader Dodge
-
 Power Start
-
 Stun Resistance
-
 Ult Cooldowns
-
 Bot Crit
-
 Bot Damage
-
 Bot Dodge
-
 Bot Health
-
 Bot Stun
-
 Botpack Damage
-
 Botpack Effect Area
-
 Botpack Stun
-
 Corrupted Brawler Dodge
-
 Corrupted Power Generation
-
 Corrupted Sharpshooter Range
-
 Corrupted Support Ultimate Charge
-
 Corrupted Tank Health
-
 Energy Resistance
-
 Movement Speed
-
 Physical Resistance
-
 Power Generation
-
 Power Recycling
-
 Power Start
-
 Stun Resistance
-
 Beta Blocker
-
 Better Together
-
 Butterfly's Sting
-
 Eagle Eye
-
 Faerie's Blessing
-
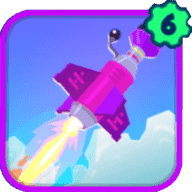
 Freight Train
-
 Headstrong
-
 Hunter's Mark
-
 Juke Boxer
-
 Marathon Bot
-
 Nectar of the Gods
-
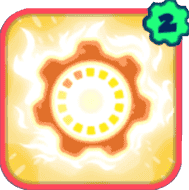
 Overclocked
-
 Paired Resilience
-
 Parry Master
-
 Power Siphon
-
 Prep Time
-
 Pure-Energy
-
 Radioactive
-
 Sorcerer Supreme
-
 Stone Cold Stunner
-
 Sub-Zero
-
 Sucker Punch
-
 Supercharged
-
 Surgical Strike
-
 Terminator
-
 The Artful Dodger
-
 The Motherlode
-
 The Sound of Science
-
 Twinkletoes
-
 Ultimate Spread
-
 Ultra Rush
Fusing
Kindly ask your dear Auntie
- You can only fuse 3 of the exact same module. Eg: 3 Shields
- Fusing will get you a module of the same type of the rarity one higher
- Fusing is always random
Tip: don’t be too eager to fuse anything you might want to use later!
Botpack Level
- The value you see on your botpack in the top-left corner
- Impacts your damage abilities & mobs level scaling
- Is equal to the average of the 6 highest level bots you own. Even if you’re not using them. Rounded up.
Gadgets
Usage
- Activation: From your botpack (bottom right while in the wild) or at the start of a fight (turn off autobattle). Demo:
video demo of gadgets activation
- Require: that you pay to unlock them, and equip them
- Refresh: every time you leave town or when using Gadget Repair stations inside Danger Zones
Hack
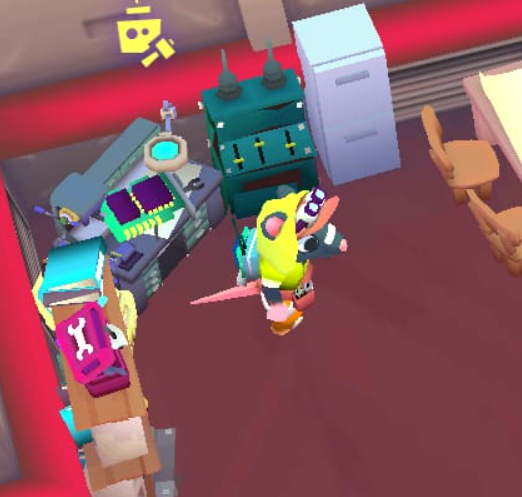
She builds your them all for you! She bills you of course, but she’s very helpful and just about the only friendly Rat out there so really, you should just consider yourself lucky.
Damage Amplifier
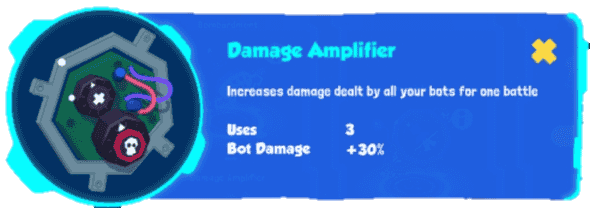
- Level 1: +25%, 2 uses
- Level 2: +30%, 3 uses
Botpack Overclocker
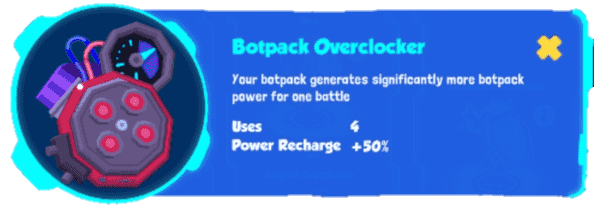
- Level 1: +35%, 3 uses
- Level 2: +50%, 4 uses
Bombardment
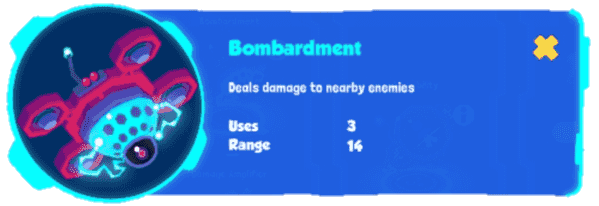
Each strike deals slightly less than 1/3 of a Wild Bot/Bandit’s health bar worth of damage, value that is halved against Bosses (needs confirmation). Striking a regular unit 3 times will leave them with close to no health, while striking a Boss 3 times will take away around 1/3 of it’s health bar.
- Level 1: range 10, 2 uses
- Level 2: range 14, 2 uses
- Level 3: range 14, 3 uses
Speed Amplifier

- Level 1: +30%, 3 uses
- Level 2: +50%, 3 uses
Invisibility
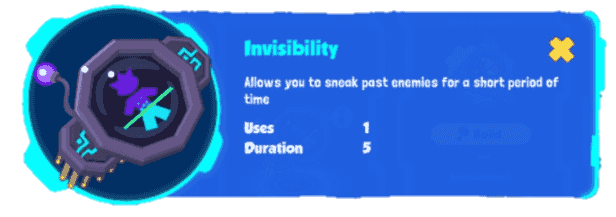
Altough preventing enemies from detecting and following you, it won’t make you intangible, meaning you can still trigger traps and that bumping into enemies would still start a fight
- Level 1: 5 sec duration, 1 use
Shockwave Generator
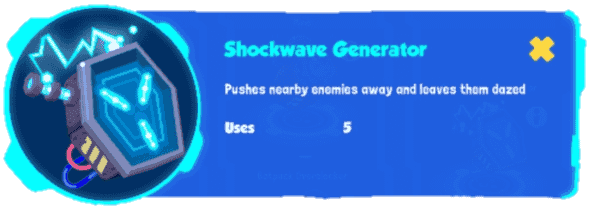
- Level 1: 5 uses
Mine
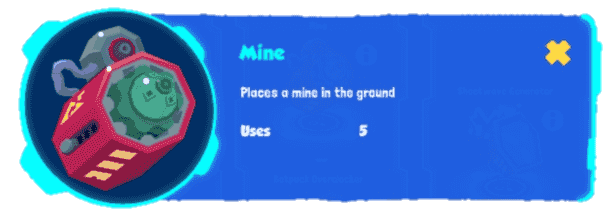
Each Mine deals around 1/5th to 1/6th of a Boss’ health bar worth of damage, value that is doubled against regular Bandits and Wild bots. Mines can be stacked on top of each other in order to deal multiple simultaneous hits. Damaging regular units with 3 mines will defeat them, while damaging a Boss with 5 mines will bring it’s health bar down to around 5~10% (Credits to @Noob)
- Level 1: 3 uses
- Level 2: 5 uses
Ability Jammer
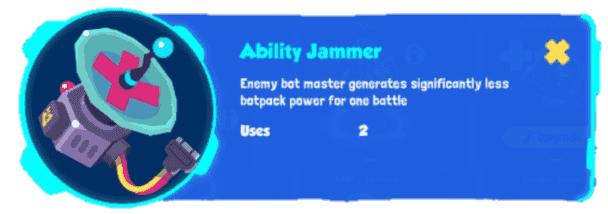
- Level 1: 2 uses