Robopedia, Guides & Tips collected by the Community
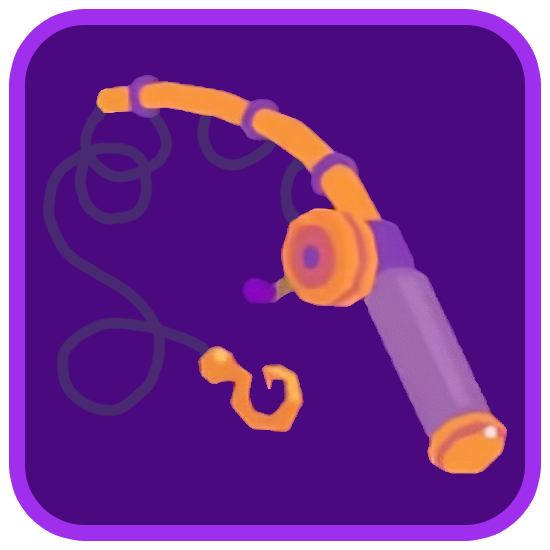
Fishing Guide
Overview
This guide was created to help players locate fish and track their collection and its value.
It also includes a basic breakdown of how to unlock fishing and tips for catching what you need!
If you have any suggestions/changes/etc., please contact a Wiki personnel or TsengFayt#2321 (creator of this guide) on Discord.
How to Unlock Fishing
To unlock fishing you must be at least Botpack level 8. If you meet that requirement, you will randomly be assigned a Contract called ‘Gone Fishing’. If you are at least Botpack level 8 and you do not see it, keep your contracts open and keep refreshing them. Obtaining the contract is completely random.
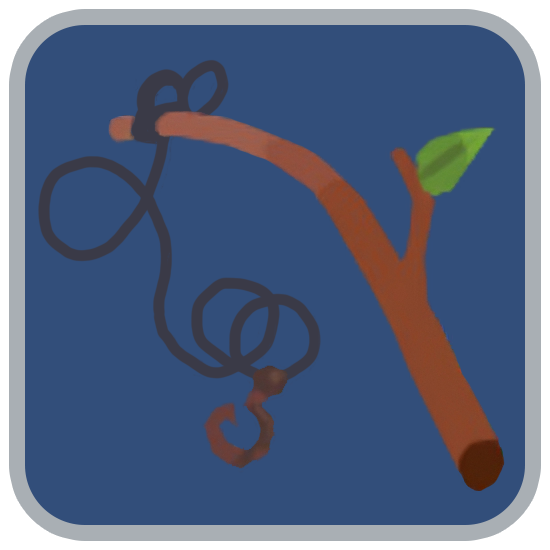
Once you have the Contract, complete the objectives, which begin with talking to Dad, who will tell you to talk with the Fisherman on the top left of the Scavenger’s Landing pier. The Fisherman will teach you how to fish and give you your first rod - the Amateur Rod.
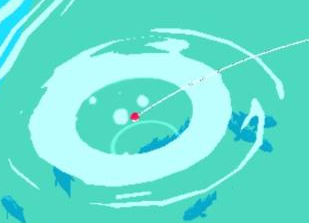
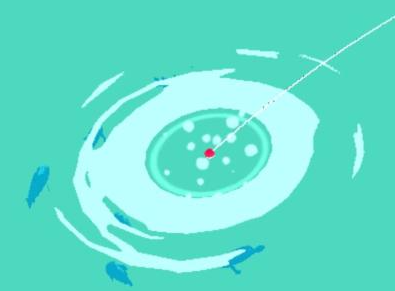
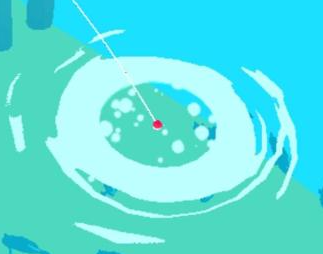
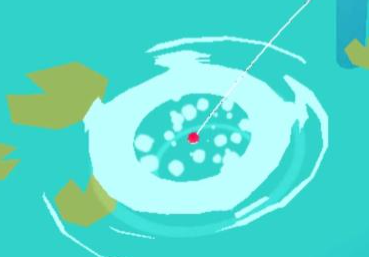
After obtaining the rod, you can fish in any zone, including Danger Zones, by interacting with fishing spots marked with circular ripples of water:

Once close enough, a fishing hook icon will appear.

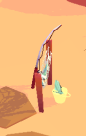
In the case that the circular ripples might be difficult to see due to camera angles or there being a cliff, a stationed rod, net, and bucket of fish marks where you can fish.
Additional rods can be unlocked by completing objectives on the Fishing Codex. See the Fishing Rods section below for more info.
How to Fish
Once you have unlocked the fishing rod, you can fish at any of the locations matching the description above. To start fishing, tap the fishing hook icon above a fishing spot as if it were a scrap pile or chest.
After the fishing interaction is complete, the camera will zoom to the fishing spot and a new button will appear on the screen.
If you are damaged or attacked by any source, the fishing interaction will stop and you must tap again, but once the interaction has begun, the world around you freezes (similar to when you open your botpack to use gadgets or summon recruits)
To cast your line, tap and HOLD the icon. Once the gauge fills to max and after a brief delay, the water will begin to bubble. After a short time, a fish or loot will appear. To reel in your line, release the button while the fish or loot is on screen.
If you time it successfully, you will catch the fish/loot 100% of the time.
Fishing Tips & Tricks
Pay attention to the ferocity of the bubbles. Slight bubbling results in a Common catch, moderate bubbling results in a Special catch, heavy bubbling results in a Rare catch, and severe bubbling results in an Epic catch.
Common:
Special:
Rare:
Epic:
If you don’t like the fish/loot that appears, KEEP HOLDING THE BUTTON. If you do not release the button, you will keep the line cast for 4-5 attempts before automatically reeling in the line. This can be helpful if you are searching for specific fish/loot.
The higher rarity the fish/loot is, the shorter frame of time you have to reel it in. Common catches last a second or so, but Epic catches require near instant release to work.
Fishing spots refresh every time the area is refreshed. This can involve exiting an area and then returning, such as through the transitions between locations on the map, or jetpacking in/out from Scavenger’s Landing. Quitting and reentering the game also works (only while in Scavenger’s Landing), but be sure to manually save before doing so.
The fishing button will move with your finger, so there is no need to worry about your finger slipping off.
Selling Fish
You can sell the fish to Herman the Fishmonger located in the marketplace in Scavenger’s Landing, just south of the landing zone. Herman offers a ‘Catch of the Day’ bonus for catching fish from a specific zone, of a specific rarity and even individual fish. These deals last for 24 hours and refresh automatically each day. You can talk to him to find out which fish he is looking for and how much time is left until the next refresh.
You cannot choose which fish to sell! Herman will pay for all fish in your inventory at once.
- +50% for all fish caught from the requested zone (+100% if the zone is a danger zone)
- +70% for all fish caught of the requested rarity
- +100% for all fish caught of the requested type (+200% if the requested fish is from a danger zone)
Fishing Rods
-
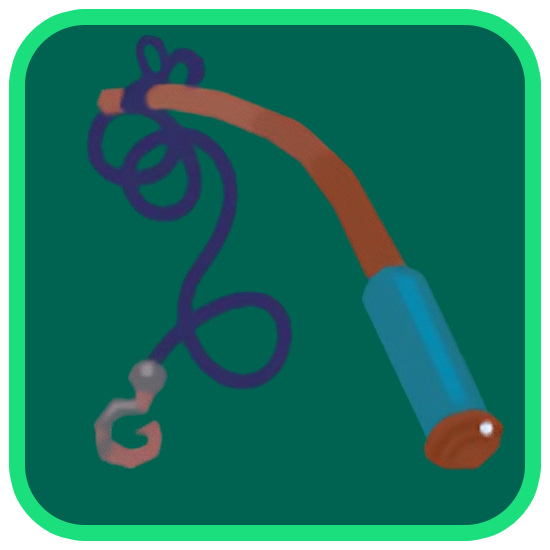
Amateur Rod:
A barely functional fishing rod for amateurs. Common fish are most likely to appear.
Unlocks the fishing interaction at fishing spots in water.
Obtained by completing the ‘Gone Fishing’ contract side quest
-
Hobby Rod:
A basic fishing rod for hobbyists. Makes Special fish more likely to appear and easier to catch.
Increases drop rate of Special catches and their timing window.
Obtained by completing 5 objectives in the Fishing Codex
-
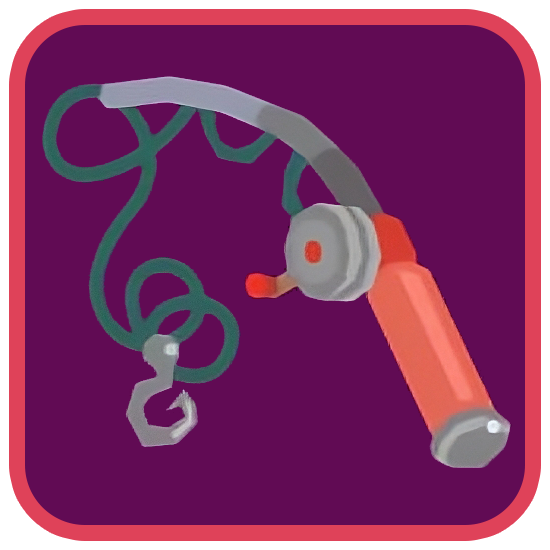
Pro Rod:
An upgraded fishing rod for pros. Makes Rare fish more likely to appear and easier to catch.
Increases drop rate of Rare catches and their timing window.
Obtained by completing 15 objectives in the Fishing Codex
-
Champion Rod:
The best fishing rod there is. Makes Epic fish more likely to appear and easier to catch.
Increases drop rate of Epic catches and their timing window.
Obtained by completing all 23 objectives in the Fishing Codex
Fishing Checklist
This is a catalogue of every fish in the game. Every map (including DZs) has a particular prefix. Costs scale with game progression.
Key:
⚪: Common
🟢: Special
🔴: Rare
🟣: Epic
🪙: Coin Value
Scrapper Coast
(Coastal)
⚪ Coastal Trout | 6 🪙
🟢 Coastal Clownfish | 10 🪙
🔴 Coastal Handfish | 17 🪙
🟣 Coastal Great White Shark | 27 🪙
Great Desert
(River)
⚪ River Perch | 8 🪙
🟢 River Pike | 13 🪙
🔴 River Flounder | 21 🪙
🟣 River Zebrafish | 33 🪙
Fall Grove
(Freshwater)
⚪ Freshwater Koi | 10 🪙
🟢 Freshwater Catfish | 16 🪙
🔴 Freshwater Angelfish | 26 🪙
🟣 Freshwater Halfmoon | 40 🪙
Saltwater Swamp
(Saltwater)
⚪ Saltwater Carp | 12 🪙
🟢 Saltwater Mudcrab | 19 🪙
🔴 Saltwater Barracuda | 30 🪙
🟣 Saltwater Snapping Turtle | 47 🪙
Parched Sea
(Cape)
⚪ Cape Whitefish | 14 🪙
🟢 Cape Gurnard | 22 🪙
🔴 Cape Sunfish | 34 🪙
🟣 Cape Whale Shark | 54 🪙
Spore Wood
(Wetland)
⚪ Wetland Snapper | 16 🪙
🟢 Wetland Mudskipper | 25 🪙
🔴 Wetland Jellyfish | 38 🪙
🟣 Wetland Seahorse | 60 🪙
Ashen Shore
(Northern)
⚪ Northern Goby | 18 🪙
🟢 Northern Snailfish | 28 🪙
🔴 Northern Electric Ray | 42 🪙
🟣 Northern Whitetip Shark | 66 🪙
Frozen Wastes
(Polar)
⚪ Polar Salmon | 17 🪙
🟢 Polar Herring | 29 🪙
🔴 Polar Haddock | 43 🪙
🟣 Polar Stingray | 72 🪙
Molten Rock
(Volcano)
⚪ Volcano Ventfish | 21 🪙
🟢 Volcano Lobster | 38 🪙
🔴 Volcano Snail | 54 🪙
🟣 Volcano Yeti Crab | 96 🪙
Vivid Valley
(Tropical)
⚪ Tropical Sturgeon | 25 🪙
🟢 Tropical Lionfish | 44 🪙
🔴 Tropical Electric Eel | 67 🪙
🟣 Tropical Sawfish | 109 🪙
Scrapyard
(Blackwater)
⚪ Blackwater Hagfish | 29 🪙
🟢 Blackwater Anglerfish | 51 🪙
🔴 Blackwater Goblin Shark | 76 🪙
🟣 Blackwater Dragonfish | 125 🪙
Fish Price Comparison
__
- Game Version: 1.11.1 - Guide Version: 2.1
- Credit - TsengFayt - Special Thanks to the Wiki team and guild leaders